Setup
The default installation of GoldenDict is good enough for most cases, but if want to make the
most out of these dictionaries I recommend following the simple steps below:
| Step 0: install a new dictionary. |
If this is your first time using GoldenDict, the first thing you should learn is to index new dictionaries. To do so, you need to know where to put them so GoldenDict can detect and install them.
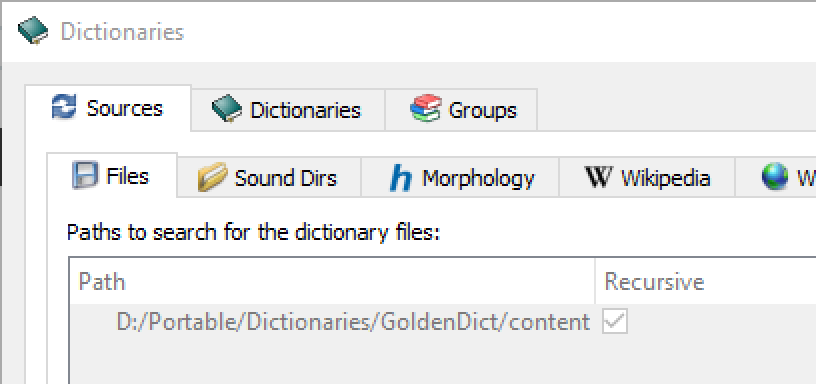
◆ Open GoldenDict menu, go to "Dictionaries", find the tab "Sources", and inside it the tab "Files".
◆ The folder under "Path" is the default folder for your dictionaries.
◆ Unpack the dictionaries inside that folder, and then click on the button "Rescan Now". Or simply restart GoldenDict.
◆ It should detect and index any new dictionary. Some dictionaries can take long minutes to install... be patient.
As an example, here's my folder:
| Step 1: add a Japanese morphology dictionary. |
A morphology dictionary isn't exactly a dictionary you can use, it's more of a spell checker for GoldenDict. It gives spelling suggestions for mistyped words, and also helps with verb tenses.
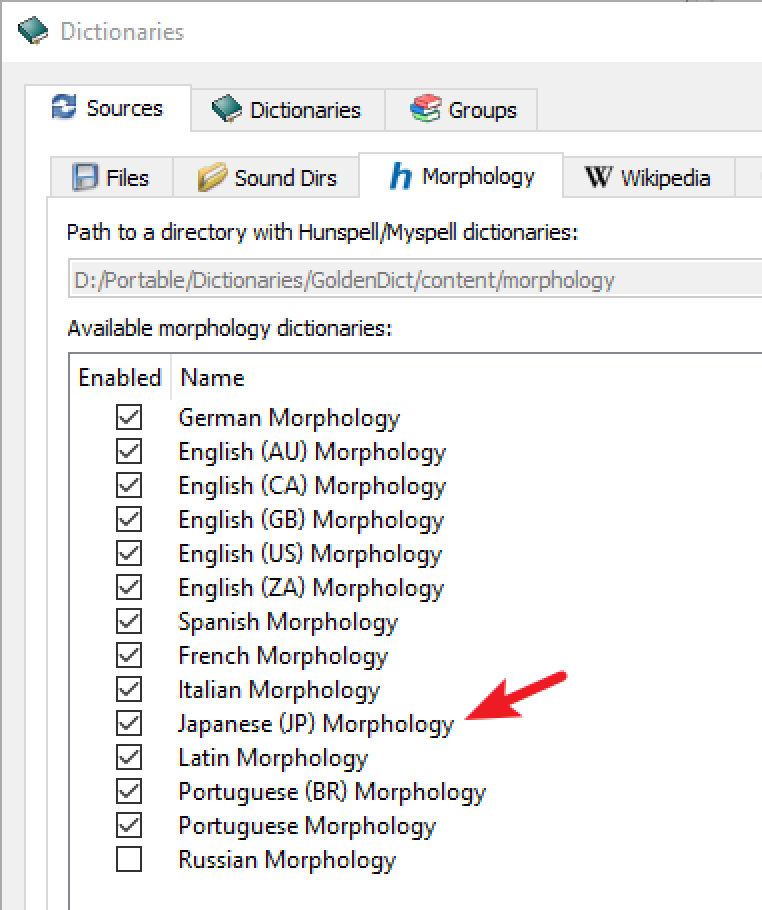
◆ Go to MrCorn0-0's GitHub page and grab the files from their excellent Japanese Hunspell project (or download a copy here).
◆ Get the files ja_JP.aff and ja_JP.dic, and put them inside the morphology folder - it should be located inside the same folder where your dictionaries are.
Restart your GoldenDict. It should appear checked under the tab "Morphology". As an example, here's mine:
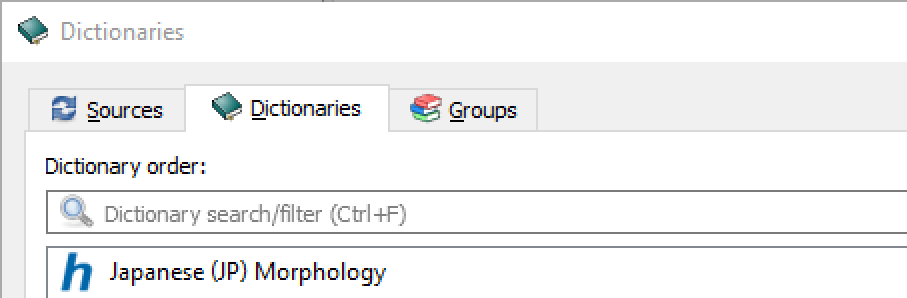
It should also appear under the tab "Dictionaries":
| Step 2: install better Japanese and Chinese fonts. |
Surprisingly, most Japanese fonts aren't suited for the study of Japanese. A lot of them cover the basic map of characters, but when you start digging deeper - studying the individual radicals and components of each kanji - you'll start noticing problems: some of them simply aren't mapped, because these individual elements are exclusively Chinese. What you need is a CJK font, a category of font that covers Chinese, Japanese and Korean, all in the same file.
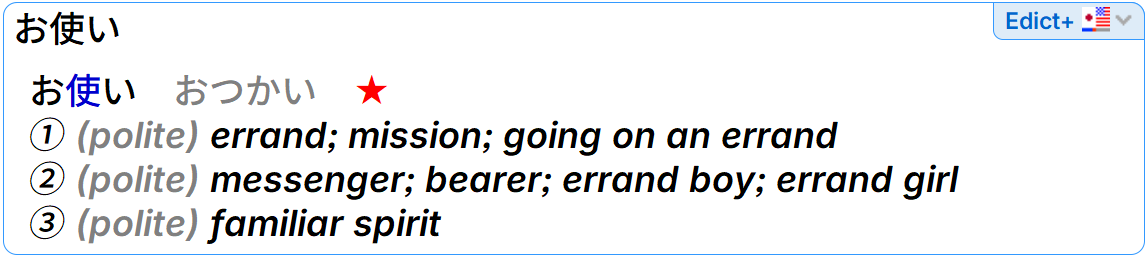
◆ I recommend be5invis's project: Sarasa Gothic, an adaptation from Adobe's Source Han Sans (download the fonts here). It's the same font I use in all of my screenshots - it looks crispier than Source Han Sans and has better looking non-asian characters. This font covers every single component and radical you'll see in these dictionaries. Install the fonts.
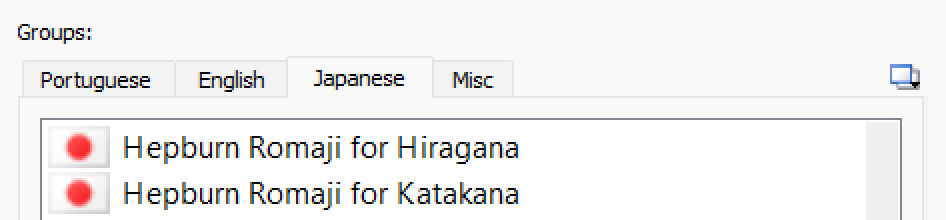
| Step 3: use all transliterations available. |
◆ Open GoldenDict menu, go to "Dictionaries" and find the "Transliteration" tab. Click on it.
◆ Find the box "Japanese Romaji". Select all available boxes.

Make sure the components below appear on your Dictionaries tab along with your other dictionaries.
Otherwise it won't be activated.
| Step 4: configure GoldenDict to display fonts correctly. |
◆ Open GoldenDict menu, go to "Help" and then click "Configuration folder". Take note of this folder.
◆ Open your text editor, and create a file named "article-style.css" with the content below:
body {
font-size: 20px;
}
.dsl_headwords p {
font-size: 24px;
}
:lang(ja), .gdlangfrom-ja {
font-family: "Sarasa Term J Semibold"; font-size: 20px;
}
:lang(zh), .gdlangfrom-zh {
font-family: "Sarasa Term TC Semibold"; font-size: 20px;
}
Save the file inside the configuration folder and restart GoldenDict. This will change the look for all Japanese and Chinese dictionaries. You can adjust the size of the characters on the screen with the magnifier icons "Zoom in" and "Zoom out" at the navigation bar (top of the screen). If you want to change the look of all dictionaries in your GD, save the same file with this instead:
body {
font-size: 20px; font-family: "Sarasa Term J Semibold";
}
.dsl_headwords p {
font-size: 24px;
}
:lang(zh), .gdlangfrom-zh {
font-family: "Sarasa Term TC Semibold"; font-size: 20px;
}
Now, if you want to change the look of your whole GoldenDict (including the articles, list of results, list of dictionaries, etc), you can try the profiles below. Simply unpack the .css files inside your Configuration folder and restart GoldenDict. Remember that you have to install the fonts in Step 2 for these profiles to work.
 Download Sarasa Fixed profile
 Download Sarasa Fixed Slab profile
 Download Sarasa Gothic profile
 Download Sarasa Mono profile
 Download Sarasa Mono Slab profile
 Download Sarasa Term profile
 Download Sarasa Term Slab profile
 Download Sarasa UI profile
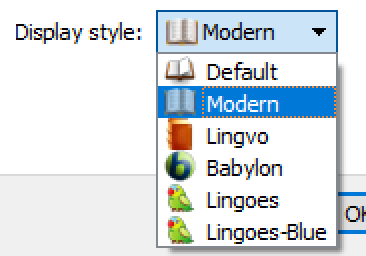
| Step 5: change the display style. |
◆ Open GoldenDict menu, go to "Preferences" and find the "Interface" tab. Must be the first to open.
◆ Find the "Display style" option. You can choose a style better suited to your preferences. I like the "Modern" look.
| Step 6: activate the scan pop-up function. |
◆ Open GoldenDict menu, go to "Preferences" and find the "Scan Pop-up" tab.
◆ Choose "Enable scan pop-up functionality". This function will open a new window whenever you hover your mouse over any word in your dictionary - very useful for quick lookups without the need to type anything.
You can also translate words directly from the clipboard. Find the "Hotkeys" tab, and select "Use the following hotkey to translate a word from clipboard". Choose your hotkey.
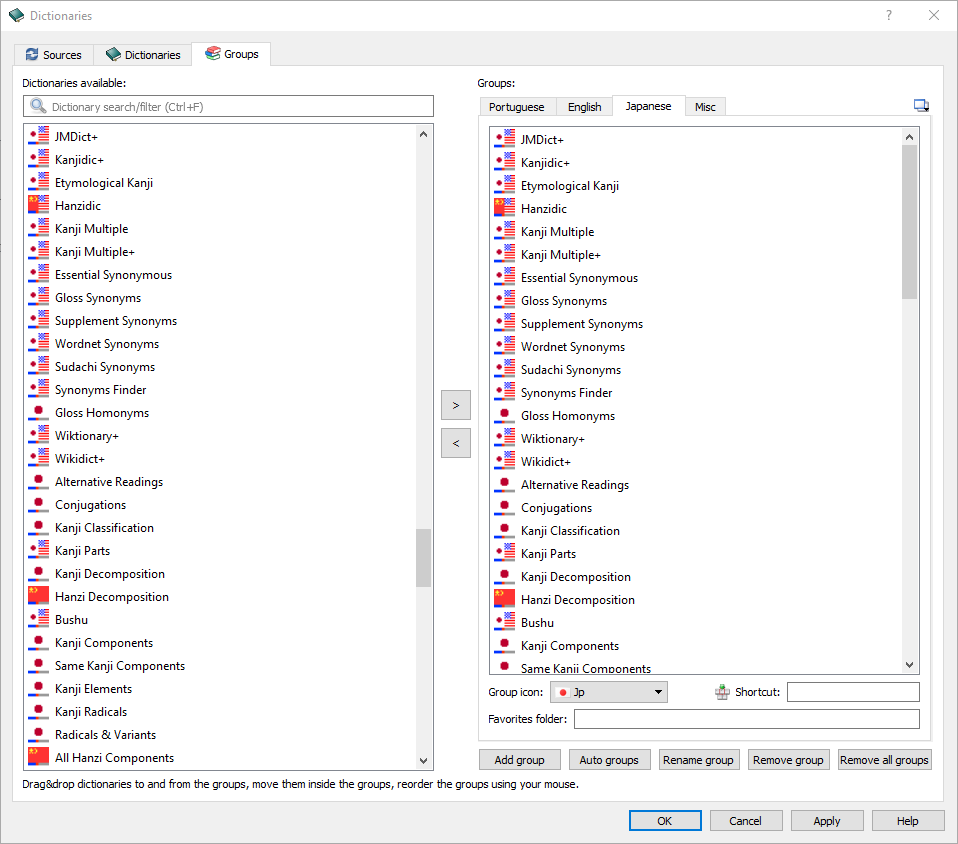
| Step 7: create groups of dictionaries. |
If you already have several languages installed in your GD, you can create individual language groups for them:
◆ Open GoldenDict menu, go to "Dictionaries" and find the "Groups" tab.
◆ At the bottom right, find the button "Add group". Choose a name and a flag for it. Now you can drag and drop dictionaries into it from the list on the left, and also sort them in the order you want their results to appear dragging and dropping them up and down.
These 7 steps will take care of most of the usability you'll need, but feel free to explore the Preferences to discover further customizations.
